The Gatsby CLI
Part of what makes Gatsby a powerful frontend framework is its list of builtin commands via the Gatsby CLI tool . Commands such as gatsby new and gatsby build allow for a smooth experience with development and deployment, respectively. We are going to go beyond these common commands and explore some of the lesser known ones.
Note: Before proceeding, make sure that gatsby cli is installed. Check with npm list -g | grep gatsby-cli. If it is not install, do so with npm install -g gatsby-cli. This article uses Gatsby version 3.8.1 and Gatsby CLI version 3.7.1
Discover other commands with help
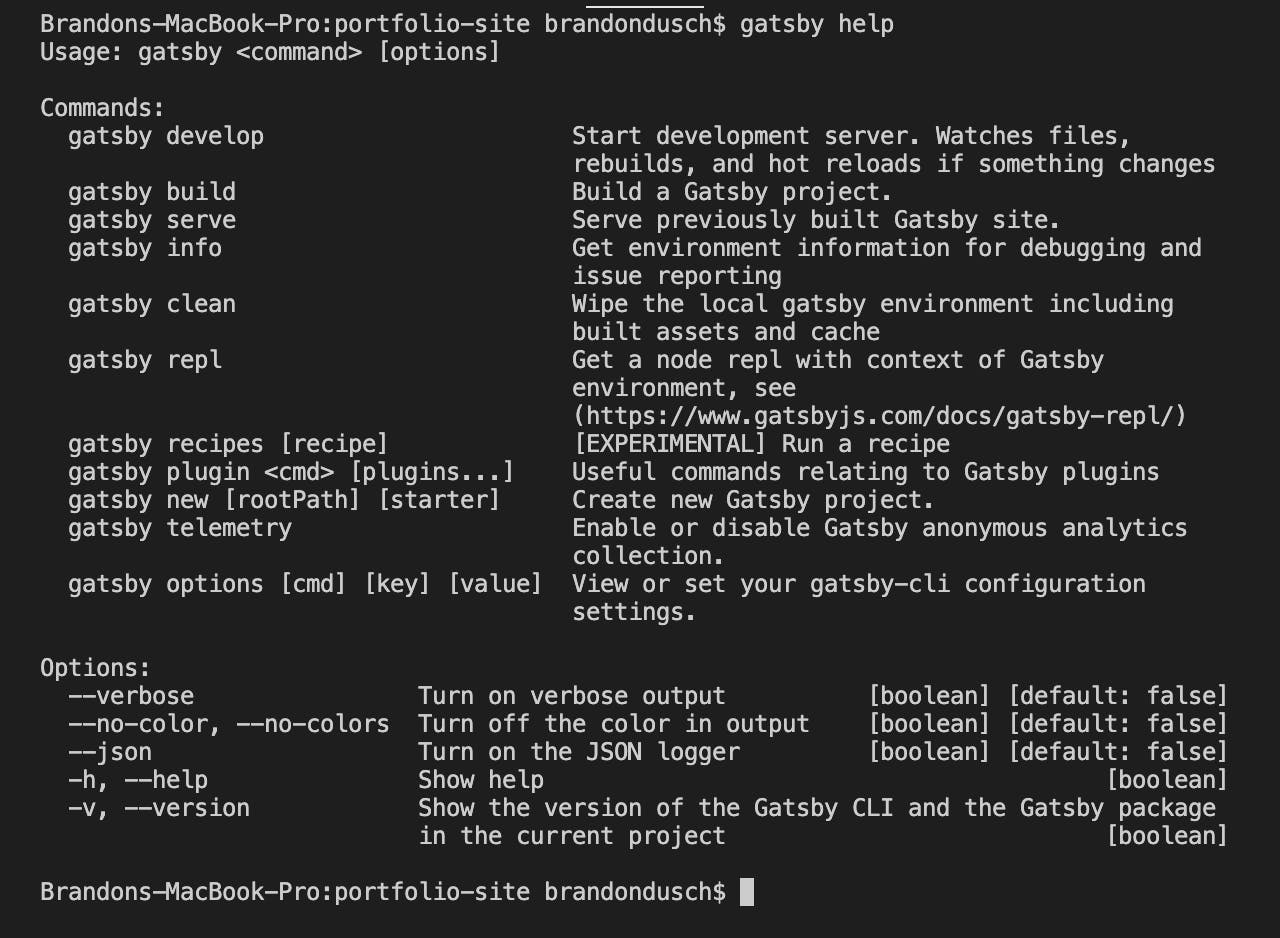
As is usual with most CLI tools and package managers, Gatsby CLI come with a help command for displaying every available command.

Some commands, as displayed above, have a shorter version in addition to the longer version. This includes help:
// gatsby help
// gatsby --help
// gatsby -h
Most commands are organized with their name on the left and a brief description on the right. The help command is useful for a quick reference of a seldom-used command.
View info about the project and local OS
Similar to help, the gatsby info command is meant to display useful information. The important difference is that gatsby info is strictly meant to display information.

Here is a breakdown of what gatsby info will display when run:
SystemBinaries- locations and versions of command tools such as Node, npm and yarnLanguages- locations and versions of locally installed programming languages (Python, etc.)Browsers- names and versions of installed web browsers (Chrome, Safari, etc.)npmPackages- names and versions of Gatsby-related packagesnpmGlobalPackages- names and versions of globally-installed packages (Gatsby-related)
The info command can prove useful for better understanding the local system environment within which the Gatsby project lives.
Explore the project's environment with repl
This last command is interesting. REPL ("read-eval-print-loop") is a environment that allows for some operations to be performed at a specified point in the code. Gatsby REPL provides an interactive shell that lets us work with special variables in our Gatsby environment.
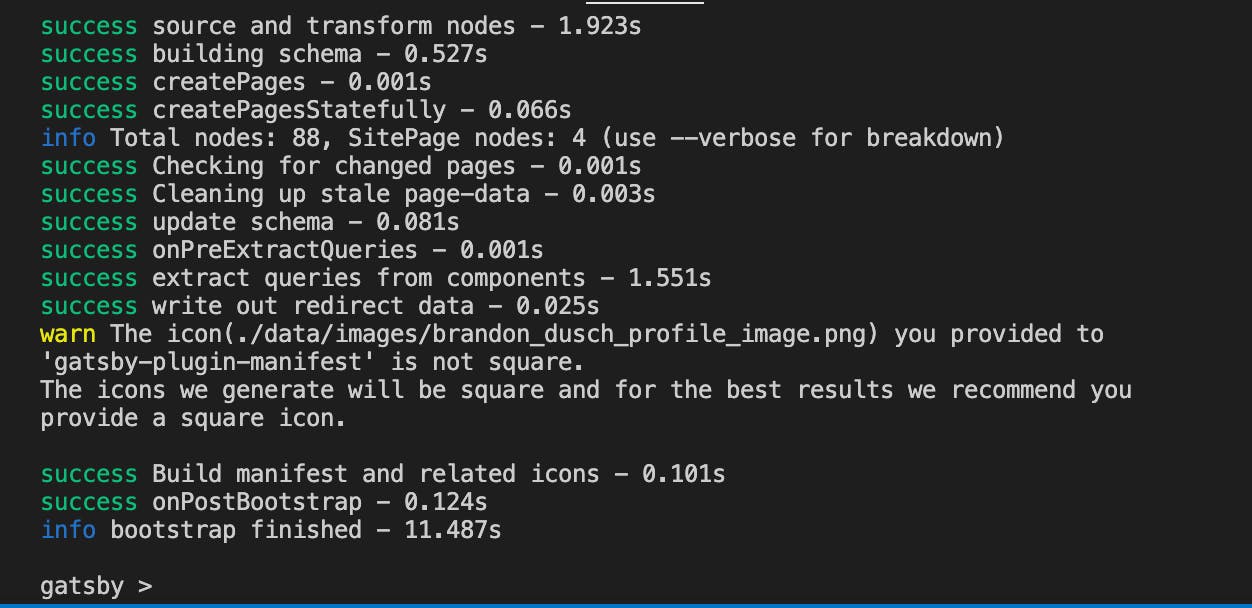
Working from the root directory of a Gatsby project, run the gatsby repl command on the terminal. A shell will appear and should look like this:

With a new interactive shell (gatsby >) open, we can interact with various datum within our Gatsby project. Here are some descriptions of some of the more interesting variables that can be accessed in Gatsby REPL:
Pages
pages returns an array of objects with information about components classified as "pages". Using
the default starter page , if we run gatsby repl and type the following operation:
// in the Gatsby REPL shell
gatsby > for(p of pages) { console.log(p[1].internalComponentName + ' = ' + p[1].componentPath)}
Component/dev-404-page/ = /Users/brandondusch/Desktop/projects/lets-try-gatsby-repl/.cache/dev-404-page.js
Component/404/ = /Users/brandondusch/Desktop/projects/lets-try-gatsby-repl/src/pages/404.js
Component/404.html = /Users/brandondusch/Desktop/projects/lets-try-gatsby-repl/src/pages/404.js
ComponentIndex = /Users/brandondusch/Desktop/projects/lets-try-gatsby-repl/src/pages/index.js
Component/page-2/ = /Users/brandondusch/Desktop/projects/lets-try-gatsby-repl/src/pages/page-2.js
Component/using-typescript/ = /Users/brandondusch/Desktop/projects/lets-try-gatsby-repl/src/pages/using-typescript.tsx
In the example above, we looped through pages with a for-loop and printed out information about a page's internalComponentName and their componentPath (absolute path).
siteConfig
The siteConfig returns an object that represents the data found in the gatsby-config.json file. This includes plugins and siteMetaData. It's another way of looking at a Gatsby site's configurations.
gatsby > siteConfig
{
  plugins: [
    {
      resolve: 'gatsby-plugin-react-helmet',
      options: {},
      parentDir: '/Users/brandondusch/Desktop/projects/lets-try-gatsby-repl'
    },
...
staticQueries
In Gatsby, with help from GraphQL, we can query for data from virtually any location within our project's environment. Therefore, Gatsby REPL provides a staticQuery variable to act as a representation of those existing queries. For example, when a new Gatsby is created with default settings, there are two predefined static queries. One is located in the seo.js component; the other is located in the layout.js component. This can be confirmed when using staticQueries:
gatsby > staticQueries

Map(2) {
  'sq--src-components-layout-js' => {
    // query information
  },
  'sq--src-components-seo-js' => {
    // query information
  }
}
Here is another example that utlilizes REPL operations to present a nice summary of which components have static queries, their location, and the actual queried data:
gatsby > for(q of staticQueries.values()){
... console.log("Id: " + q.id)
... console.log("Location: " + q.componentPath)
... console.log("Query: " + q.query)
... }
Id: sq--src-components-layout-js
Location: /Users/brandondusch/Desktop/projects/lets-try-gatsby-repl/src/components/layout.js
Query: query SiteTitleQuery {
  site {
    siteMetadata {
      title
    }
  }
}

Id: sq--src-components-seo-js
Location: /Users/brandondusch/Desktop/projects/lets-try-gatsby-repl/src/components/seo.js
Query: query usersbrandonduschDesktopprojectsletsTryGatsbyReplsrccomponentsseoJs63159454 {
  site {
    siteMetadata {
      title
      description
      author
    }
  }
}
Wrap-Up
The Gatsby CLI is capable of more than just running a server and starting a new project. In this article, we learned the following:
- Use
gatsby helpto display a list of available commands in Gatsby CLI - Lookup information about the local machine with
gatsby info - Perform REPL operations on select Gatsby environment variables with
gatsby repl
To learn more about Gatsby CLI, as well as using Gatsby REPL, refer to the links in the "References" section.
Until then, Happy Coding!

